Fall term has been an interesting experience. It has mostly been exploring themes in Omeka and ways to manipulate them. As such, I got to learn php, HTML/CSS. My experience of learning php for Omeka was very different from any other programming languages I learned in the classroom. It was challenging not only because of the way Omeka uses php, integrated with CSS and HTML but also the way it relies heavily on libraries and in built functions. Most of the times I spent on was going through the Omeka documentations or its better version in the GitHub to get familiar with the in built functions. As such, it was important for me to prioritize learning specific sections of codes to manipulate themes in Omeka rather than the general approach in a classroom based learning. I think such approach applies to lot of other web platforms. Weekly challenges with theme manipulation from Austin was a really good motivation in terms of goal-based learning.
Overall, the experience has been enlightening. It has given me a glimpse of what I might expect in tech jobs. It has taught me ways to equip myself with relevant skills to solve specific problems.
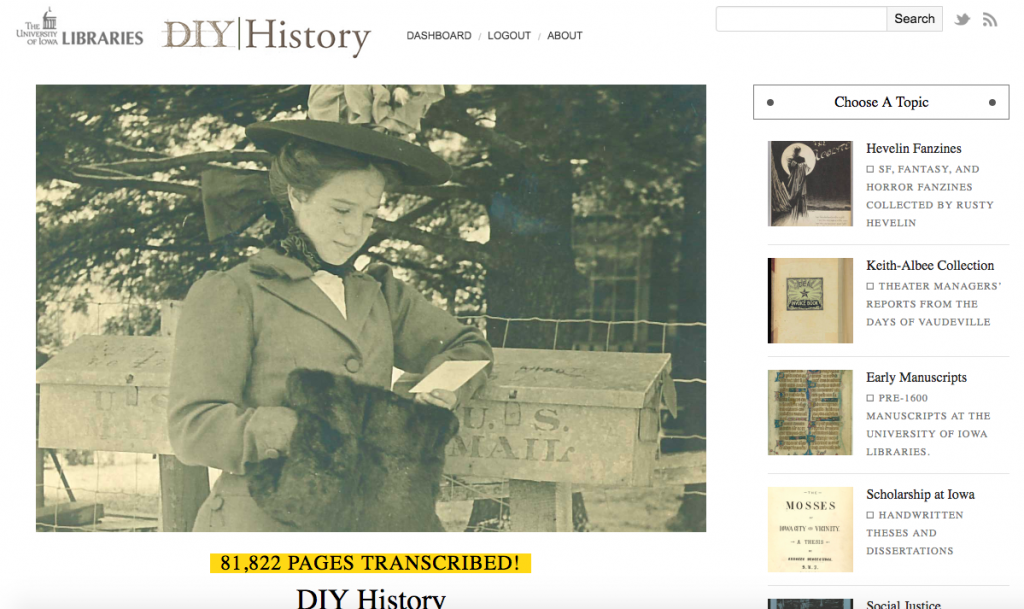
DIY History Accessibility Review
The University of Iowa's website welcomes users of all levels of accessibility, asserting that "no special expertise is required." In my opinion, this statement is not entirely true, though the University of Iowa's crowd-source transcription website, DIY History, holds a number of positive qualities for a website of its means.
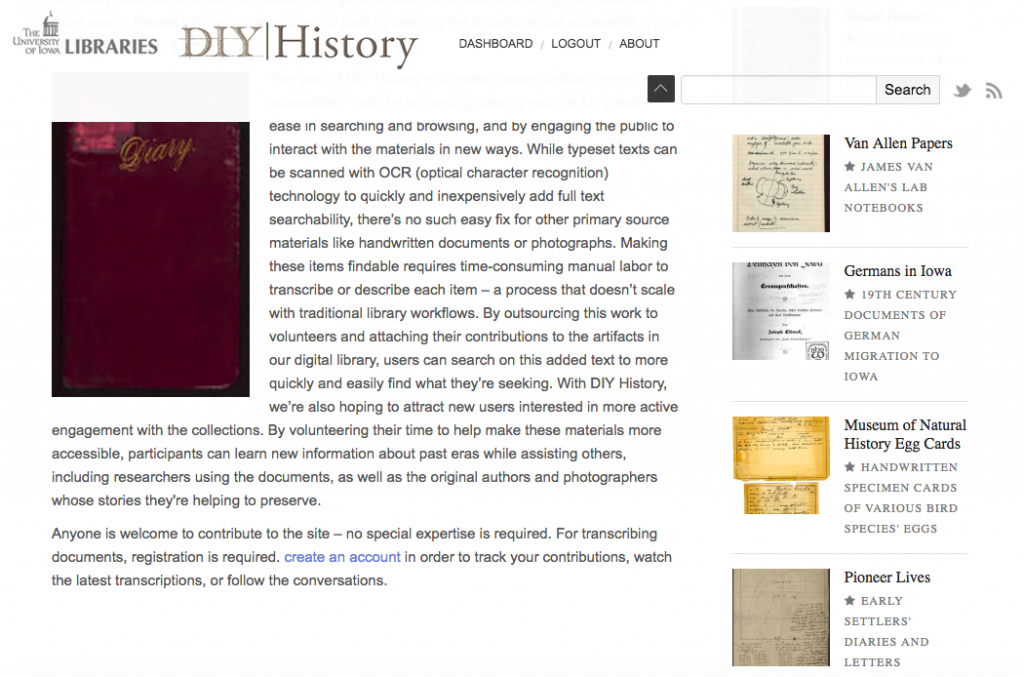
The website offers a large block of text underneath a historical image as the opening view of the website; though the text is clear and readable, at first glance the layout is a bit confusing. I can imagine users might be confused at first as the stipulation that readers must register for an account is hidden in the lowest, and most likely least read portion of the text (read: I was confused by this fact, and was stumped for a few minutes trying to figure out how to actually transcribe).
Once the viewer registers for an account, finding the actual pages to transcribe becomes the new obstacle, as these are located to the right of the opening image. This location tends to signal to a viewer that the content of this side panel is not necessarily the most important-- however, the content of the panel is the most important part of the website, and could, potentially, not even appear if the user's browser isn't full screen.
Of course, once the user gets over this hurdle, they then come across pages and pages for transcription, a very attractive move for a transcription website. Moreover, the pages are broken down by subject, and clearly delineate the purpose of each specific category. DIY History does not attempt to "gameify" their offerings, meaning that the creators do not attempt to attract users by making the transcriptions into a sort of game, and I do respect this choice, as crowd-source transcription does not need to be anything but that. DIY History displays some obvious merits in their vast offerings of transcriptions and clear organization of purpose. However, I do think the site could benefit from some clarity in production. Transcription is a job that requires a measure of ease; creators are inherently asking for some participation from the viewer. In my opinion, the easiest way to receive the most responses is to make the job easier for the viewer.
Do's and Don'ts of Crowdsource Transcription
The concept is simple-- long-term projects that need an extensive amount of transcription put their documents online, open to the public to transcribe. After looking through some successful transcription projects, here are my tips and tricks to creating a positive project.
1. Give credit, not compensation.
Though there are crowdsource transcription projects that offer compensation, it is my experience that these tend to be complicated to say the least, and projects tend to see more success when they're unpaid, although results may take longer. However, giving credit to where credit is due is certainly important, especially towards the end of a project.
2. Make sure you can reach the widest audience.
Account for users who may be visually or hearing impaired, and ensure your page works for all abilities! This means at the very least ensuring plugins that provide support for sight and hearing work with your site.
3. Provide an element of choice.
In my opinion, it's not necessary to completely "gamify" your site to attract users, but transcriptions do tend to seem more appealing when different options are given. It definitely makes for a more interesting experience!
4. Do your research.
There's no shame in seeing what works, and then using that for your own page. Some recommendable sites are the Library of Congress page and the New York Times.
Usability Review: Programming Historian
As a non CS major-- and, to be frank, a person with a fairly basic grasp on technology as a whole-- one thing I'm interested in is applying this lack of knowledge to assess the reality of accessibility on websites, specifically those intended to teach basic programming skills. I first looked into Programming Historian as an alternative to the somewhat DIY programming and instruction, often found in the depths of non-didactic/non-programming websites like Reddit or even Twitter. The goal was to, hopefully, learn a little something, but more importantly, as a someone who grasps just the most essential basics of computer science, to comment on the accessibility of these pages.
I chose the Programming Historian post regarding the creation of Twitterbots, a topic that required a little reading up on, as it was a function about which I knew the basics of the so-called "front-side," but not the "back-side," or the programming end. However, Programming Historian itself did a lot of the work for me with thorough introductions to both the outward function of the bots, as well as the software behind them. The site itself walked me straight through working with Tracery, an editor that at first glance appeared more confusing than it actually was. Once the "bot" was created on Tracery, that software could be translated into JSON, then plugged into a website that uses the data to create an actual bot. As a non-CS major who has used this tutorial and come out the other side understanding the creation behind Twitterbots fairly well, I would say that this page is absolutely usable, even for someone like myself who can barely figure out twitter; if you're looking for some concrete evidence, I made a TwitterBot, GouldLibeBot, @GouldLibraryBot, a Bot that tweets out different variations of things that happen in the library in less than 10 minutes from this tutorial. In terms of accessibility, however, thinking outside of myself, I'm not sure the page would be usable without plugins for a person with some sort of disability, specifically blindness-- I saw no viable pathways to listen to the page. However, the site is completely free, and thus is totally accessible to perhaps a low-income student. Overall, I was impressed that I could glean anything about coding in less than twenty minutes from my own computer without compromising my own non-digital background!
Ziyang's first-week reflection
This week I've been learning/implementing how to set up local server and build up website empowered by Omeka using MAMP. As an administrator of "Omeka Testing", I've learned how to add plugins and themes from omeka.net. The reading I was assigned this week is pretty hard to follow, but from the Lynda tutorial and basics of adding plugins, I've gained some sense of the logistics and creating/adding plugins to my website and how the back-end role of web development is like (making sure that an input my user would reflect directly in data base and give out desirable output). For next week, I'm going to learn PHP and html basics, so that I could understand the plugin/configuration codes in a better way.


